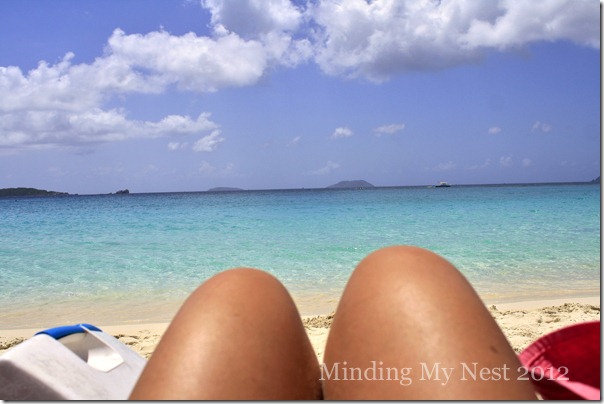
It’s hard to believe, but just seven short months ago I was doing this.
So I’m finally getting around to making a scrapbook of our St. John Vacation. For me, creating a vacation scrapbook is a little more involved than throwing a couple pictures and a few bits of paper together on a scrapbook page. But it’s one of my favorite creative processes so I thought I’d share with you how I go about creating a vacation album from start to finish.
I’m not gonna lie…this time it feels like a daunting task. Maybe it’s because the digital age has created an extra step in the process. Used to, I’d come home from vacation with several rolls of 35mm film which I would promptly drop off at my neighborhood Walgreen’s. A couple of days later I’d pick them up and then sit in the front seat of my car shuffling through the photos in each of the packets.
Please tell me you remember doing that too. I’m not that old yet, am I? Wait, don’t answer that. ![]()
But now thanks to my fancy camera (and of course my need to take dozens of photos of the exact same thing hoping to get the one that was JUST RIGHT), I came home with over 750 digital photos! Holy crap! So the first order of business for me was to decide which photos I wanted to have printed.
Since I purchased Photoshop Elements a few months ago, I decided to use the Organizer module to help me with this process of selecting which photos I want to have printed.
*Disclaimer! I am not a Photoshop Elements expert by any stretch. Like most programs, there are a zillion different ways to do things and what I am sharing here today is what made the most sense to me. Which basically means that I’m sure there is an easier way. ![]()
OK. So let’s get started! When I open Organizer, by default it displays my most recent images. In this case photos of Daisy Duke. ![]()

Using a little trick I learned from Everyday Elements, I went up to the Display drop-down and selected Folder Location. Then in the Folder window, I pathed down to where I my photos are location in my Pictures library.
The next thing I did was create an Album for the photos that I want to have printed. (BTW – a Photoshop “Album” isn’t an actual folder or location on my hard drive, it’s just a category in Elements and helpful tool for organizing photos.)
I am using this Album as temporary place holder for the photos I want to print. I suppose I could have put all my vacation photos in this in album and created a sub-album for the ones I wanted to print, but to be honest I didn’t think of that until just now and I already sent my photos off to be printed. ![]()
Anyway, now is the the fun part – deciding which ones to put in the album. 
My approach to this task is to grab anything that looks like something I might want to have printed. Photos that don’t make the cut are those that are very poorly exposed/focused and those with chopped off heads or that are just plain weird. ![]() I’ll go back and refine my album in a bit, but for now that’s my first pass criteria.
I’ll go back and refine my album in a bit, but for now that’s my first pass criteria.
Once I finished with the first pass, I started the not-so-fun process of narrowing down the number of photos in the album. This step is harder because although I’d love to be able to have every good photo in my scrapbook, realistically how many different pictures of the beach do I really need or really have room for? So the first thing I did was to limit the beach photos to just two or three per beach. It was much more difficult to narrow down the photos of people so basically I just removed duplications. For instance if I had two photos of the same two people doing the same basic thing, I tried to select the one that best tells the story (in my opinion) of that particular interaction.
OK, so fast forward about three hours and two(ish) glasses of wine later and I finally finished selecting photos. When it was all said and done I still wound up with 194 pictures, but that’s a much more manageable number than 750! And I’m sure there will still be some culling once I actually start putting my album together (gonna have to muster up some tough love at some point!), but at least now I have a place to start.
The next step is to actually get these puppies printed out! So what I did was click on my album in the Organize tab then go to Edit>Select All. 
Next I went to File>Move and clicked on Browse. There I created a folder for these pictures that would be easy to upload to my photo printing service.
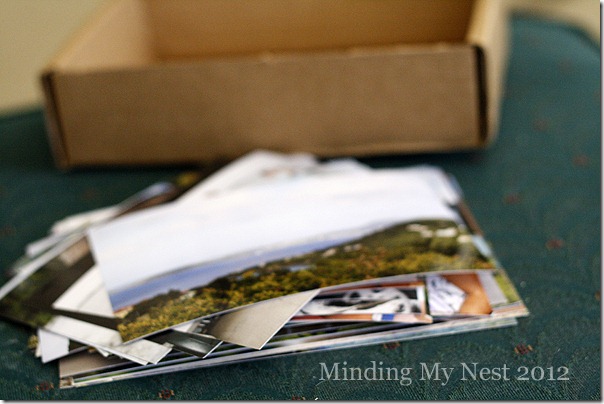
In the past I have used Walgreen’s to print my photos, but the last few times when my pictures came back they seemed way to dark. So I decided to go with Shutterfly this time. And I have to say they turned out awesome!
Woohooo! Now I have some pictures to scrapbook with! ![]()
Next time I’ll share with you how I go about organizing my scrapbook. Until then I am going to shuffle through my my photos and relive those wonderful vacation memories.
Peace, Kelly


I want to relive that one in person!!!!! 🙂