I decided to make homemade cinnamon rolls today for two reasons. First, we went out to dinner last Friday to a fancy pants new restaurant in south Tulsa and they had a cinnamon roll on the dessert menu. I thought it was interesting how they had taken a breakfast classic and made it a dessert option. And it was good, but it wasn’t great. (It was a little stale and tough on the edges. But to their credit, they gave us a new, fresh cinnamon roll to take home which was wonderful.) And then second, I was talking to my mom on the phone recently, and she mentioned how much she had a hankering for homemade cinnamon rolls. So I figured I’d use all the good dough making skills I’ve been developing on bread and make something my family would really love.
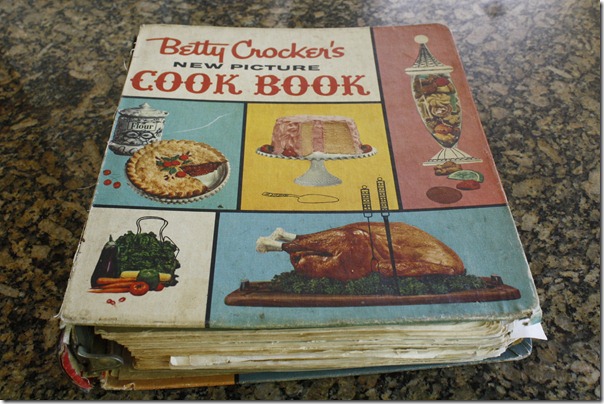
The only problem was finding just the right recipe. I scoured the internet, but there were just so many variations it was hard to find one that really spoke to me and said, “This is the perfect cinnamon roll recipe.” So I decided to look in one of my cookbooks and came across my mom’s old Betty Crocker cookbook. I figured if there was going to be an authority on Cinnamon Rolls, this is where I’d find it.
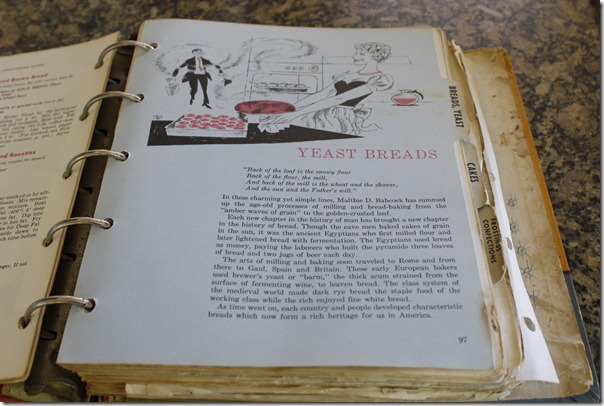
And as luck would have it they had a whole section devoted to yeast breads.
Seriously, can we please talk about the picture of this woman. I can’t remember the last time I wore my pearls and I can guarantee you I never look like that when Tripp gets home. But I tried not to let Ms. Perfect intimidate me and soldiered on until I came to a recipe for Sweet Roll Dough.
I knew Betty wouldn’t let me down.
I was happy to see that Betty’s recipe was very similar to one I had found online. So I made a few modifications to it and I’m happy to report that I made some pretty freakin’ awesome cinnamon rolls. Too good not to share!
I promise, it’s not hard. And it’s pretty basic ingredients – stuff you probably already have on hand (except maybe the yeast, but you can get it at the regular grocery store.) And they were SO much better than anything you’ll ever get out of a can.
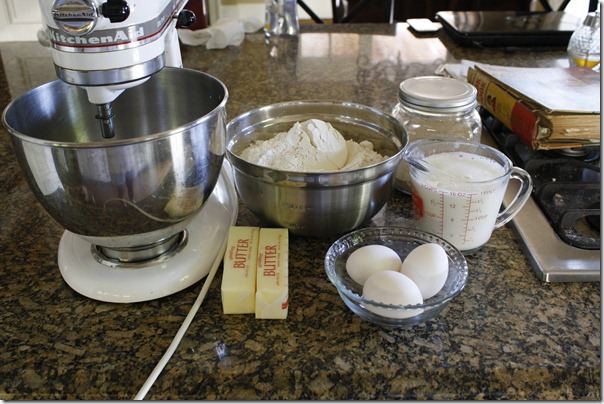
So here is the basic ingredient list for the dough:
- 2 whole eggs plus one egg yolk
- 3/4 C sugar
- 3/4 C soft butter
- 2 tsp salt
- 2 C scalded whole milk, cooled to lukewarm*
- 7 – 7 1/2 C all purpose flour
- 4 1/2 tsp instant yeast (2 packets of Rapid Rise highly active yeast)
*Betty says that scalding the milk destroys enzymes which would make the dough sticky and hard to handle. And if Betty says it, I believe it!
OK. So let’s get started.
First you need to scald your milk. Add the two cups of milk to a saucepan over medium heat until steamy and just barely starting to bubble around the edges. You don’t want to boil it, just get it hot (you’ll see lots of steam rising off the top and maybe even start to smell it a little.)
Then you want to let the hot milk cool to lukewarm – warmer than room temperature, but not hot – maybe an hour or so.
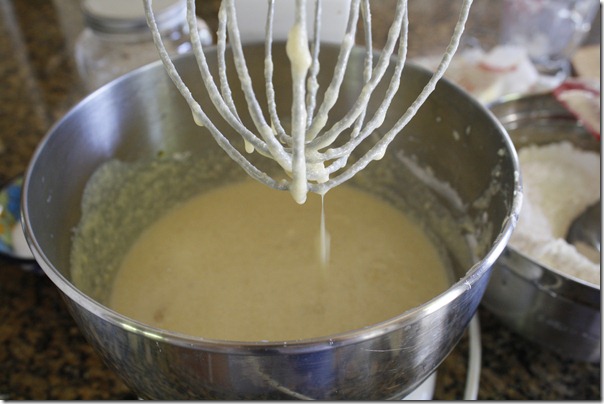
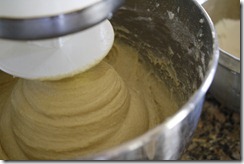
Next, add eggs, sugar, butter, salt, and milk to the bowl of an electric mixer fitted with the whisk attachment. (The eggs, butter, and sugar add richness as well as tenderize the dough.) Mix to combine on medium-low speed. I used speed 4 on my Kitchen-Aid stand mixer. Once the ingredients are basically homogenous (it’ll be a little lumpy), add 2 cups of the flour and the yeast. Continue mixing until the batter is mostly smooth. It’ll look kinda like pancake batter.
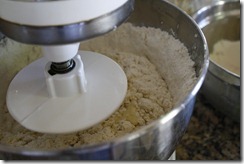
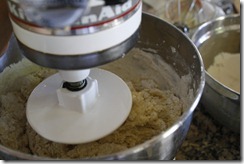
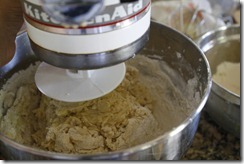
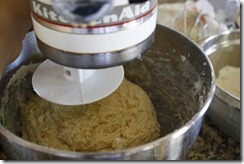
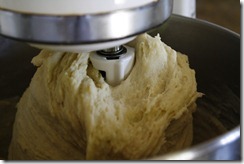
Now switch to the dough hook and add 4 1/2 of flour. You can also do this by hand in a large bowl if you are feeling strong and need a good bicep workout (my biceps were plenty sore from two rounds of bootcamp.) Mix until the flour is thoroughly incorporated. Here is the dough at 30, 60, 90, and 180 second intervals-
Continue kneading for 3 more minutes (5 minutes total).
Now, we need to check the consistency. What you want is a soft, smooth, and moist dough – but not sticky. So add up to 1 cup more flour until the dough is smooth and comes away from sides of the the mixer bowl. I ended up using all 7 1/2 cups of flour today, but depending on the day and your conditions, you might need more or less flour. Knead on medium-low speed for another 5 minutes. (Total kneading time is 10 minutes.)
I will tell you now that this recipe pretty much maxed out the capacity of my Kitchen-Aide. Be sure to watch the dough so it doesn’t creep all the way up the dough hook like mine started to do. And you can do all the kneading by hand if you prefer – I’m just not that great at it.
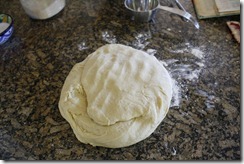
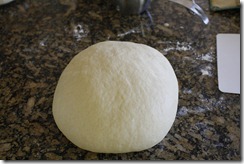
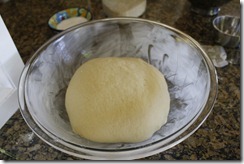
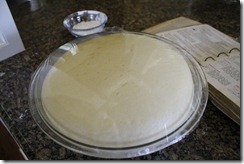
Once you finish kneading, turn your dough out onto a lightly floured surface and hand knead it for 30 seconds or so and then form it into a ball. Generously butter a large bowl and place the dough ball in and turn it in the bowl to coat the top with butter. Cover the bowl with plastic wrap and set it in warm place to rise until doubled – approximately 2 to 2 1/2 hours. Now, I am a freak and like to have the doors open with it’s pretty and cool in the morning so what I did is set the bowl in my UNheated oven with the oven light on for 2 1/2 hours and it worked great. (Just be sure to check on it now and then to make sure it’s not coming over the side of your bowl.) Now would be a great time to wash your sheets and/or pull up your pansies in the front yard. Or watch a movie. Just be sure to give the dough plenty of time and don’t obsessively check to see whether or not it’s rising. Ahem.
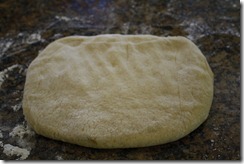
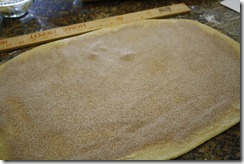
After the dough has more or less doubled in size, turn the dough out onto a lightly floured surface. Sprinkle the top lightly with flour, give it a little pat down, and then divide it in half. With one half of the dough, pat it into a rectangle. Then using a rolling pin, roll the dough into a rectangle roughly 12 x 18 inches. If you want to be OCD and measure it with a ruler, I assure you there will be no judgment from me. Next, spread 1/4 cup (1/2 stick) of softened butter over the surface of the dough.
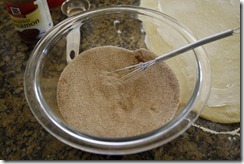
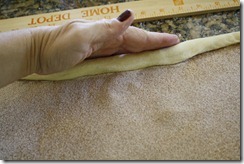
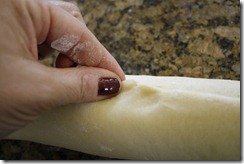
In a small bowl, mix 3/4 C sugar and 1 Tbsp of cinnamon. (*see below) Sprinkle 1/2 of the mixture over the surface of the dough. Starting at the top, begin rolling the dough down towards the bottom. Try to keep it rolled tightly, but don’t obsess over it too much. Once it’s tightly rolled, press the seam to seal. Repeat this process with the other half of the dough.
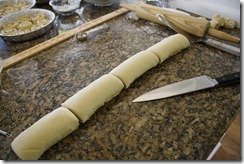
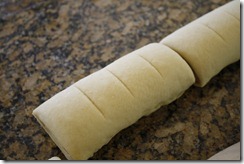
Next you’re ready to cut the roll into slices. Start by cutting about 1 inch off the ends so you get a nice even roll. Now, I’m going to be honest and tell you I did this a couple of different ways. The first roll I made the cuts about 3/4” wide and wound up with 24 rolls. The second roll I cut the dough into fourths and the cut each fourth into four equal rolls approximately 1” wide which gave me 16 rolls.
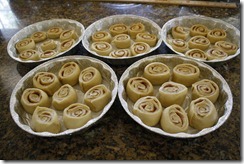
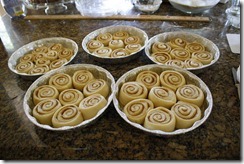
Since there was no way in hell I was going to keep all these cinnamon rolls in my house, I used those awesome foil pans from the grocery store so I could easily give them away. Start by generously buttering each pan. (How many times have I said “generously butter” in this recipe?) Next, place 8 rolls in each pan. They should be close to each other, but not touching. You can see that I wound up with 3 pans of smaller rolls and two pans of the larger ones. Cover the pans with plastic (or if you got the pans with lids you can just snap on the handy dandy lid.) Let them rise again until nearly double which will be somewhere between 45 minutes to an hour. Oh, and go ahead and pre-heat your oven to 375 degrees.
Once they have risen, place the rolls, uncovered, in the pre-heated oven and bake for 20-25 minutes or until lightly golden. I baked mine in two different batches – first the two pans of larger rolls and then the three pans of smaller ones. The larger rolls took exactly 25 minutes whereas the smaller rolls needed only about 22 minutes.
So while your lovely rolls are in the oven, go ahead and prepare the icing. Here’s what you need:
- 4 oz cream cheese
- 1/3 C milk
- 4 C powdered sugar
- 1 tsp vanilla
- pinch salt
Cream the sugar and cream cheese in the mixer fitted with the whish attachment on medium speed. Gradually add the milk and mix until smooth and pourable. Add the vanilla and salt and mix for another minute or so.
After you take the rolls out of the oven, let them cool for a couple of minutes. Here you can see the two sizes side by side. Honestly, there wasn’t a lot of difference. The larger rolls baked up a little bit higher in the pan and that’s about it. I think it’s really a matter of personal preference on how thick you like to cut them.
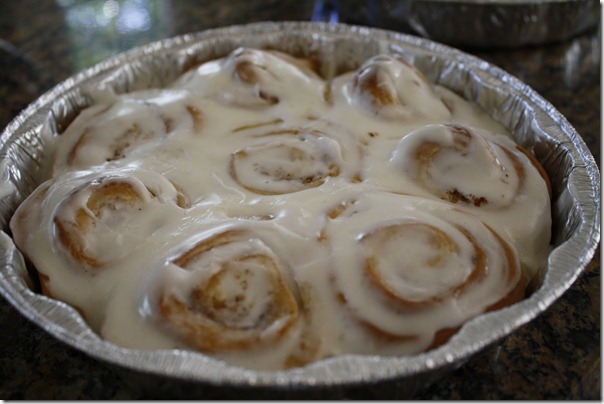
Either way, once they’ve cooled for a couple of minutes, generously (ahem) spread the icing evenly over the tops of the cinnamon rolls. You want the rolls to be a little bit warm still so the icing will melt a little and ooze into all the nooks and crannies. Seriously…look at that. Oh my gosh.
The only thing left to do is to reward yourself for all your hard work and take a little bite.
Now I’m the first to admit that I’m no cinnamon roll connoisseur, but honestly…these are heavenly. The dough itself is just so tender and flavorful and not too sweet. The icing is sweet and creamy. And in the spirit of full disclosure I think if I was going to make these again (and my daughter told me that I must), I would add a little more cinnamon to the sugar mix. But I really love cinnamon so this may be a matter of taste as well.
*UPDATE – I made cinammon rolls tonight for a bake sale at work tomorrow and doubled the amount of cinammon in the sugar mix. It gave the rolls the more cinammon flavor which my family prefers.*
Oh, one more thing – theoretically you could make these rolls the day before. Once you get the rolls cut and placed in the pan, cover them with plastic and put them in the refrigerator to rise overnight. The next morning set them out for 30 minutes or so to take the chill off, then bake and ice as above. I’ve not done this, but I plan to give it a try. I might also try to figure out how to make less than 5 pans at a time.
At any rate, I hope you enjoy these. Maybe make them for your momma. Or somebody else’s momma. Or just make them for yourselves and pretend it’s like a hug from your momma.
Peace, Kelly









I bake and cook a LOT and am a fairly well-seasoned cook and the family pie/dessert maker, but I have never tried making Cinnamon Rolls…but this detailed tutorial really encouraged me to try it sometime this summer! This is exactly what I need to know about making them! I LOVE cinnamon and would enjoy making these! I am NOT a bread baker and don’t have a lot of yeast experience. Thank you for this wonderful blog! <3
thank you so much susan! i love to bake too which probably explains why i decided to join bootcamp. 🙂 enjoy!!
These These THESE look
OH SO HEAVENLY
Mmmmmmmmmmmm!
please stop by and say hi.
xoxo
bB
http://www.itsybitsybrianna.wordpress.com
thanks brianna! i hope you like them! 🙂
Made them last night, as you know! YUMMMMMM!!! This morning we nuked them for 20 seconds and they were just like hot out of the oven fresh! I ended up using all 7 1/2 cups of flour, too. Thanks for the wonderful step-by-step with pictures! Fun to make with my daughter! Only thing I’d change was our starting time! We were up till 3 a.m.! Our fault for starting too late in the evening, but still fun! Thanks again!
yea!! i’m so happy to hear that they turned out so well for you!!
i made cinnamon rolls n icing by using this recipe n the step by step instructions.. it did take a long process but to c my kids n hubby n mom n law chow down on it it was well worth it i will be using this recipe frm now on thank u for putting it on here i loved them i even heated them up this morning to eat n it was just as good as it was yesturday when i made them n they was fresh thank u again in fact i shared this on facebook n i have n aunt tryed n n said it was the best one she has eatn n a other person has been asking bout it on facebook wanting the recipe i had taken a pic of the cinnamon rolls i made n posted it on my facebook n its been a hit lol soo thanks again
hi judith! i’m so happy to hear that they turned out so well for you! my family loves them too!
love, kelly
Hi,
I have this same cookbook but the first few pages are missing. What year was this cookbook published? I love this cookbook!
Thanks!
You own the holy grail of cookbooks! (I found you via an image search.) Is there any chance you would look up the pancake recipe … which I remember as ALMOST memorizable … and share it? I would be forever grateful!
(If there are two or more recipes, I’m looking for the buttermilk pancakes.)
haha! yes indeed the holy grail. 🙂 love it. i’ll see what i can do! 🙂
Can you make a freeze them? would you bake before freezing?
Thanks,
Kat