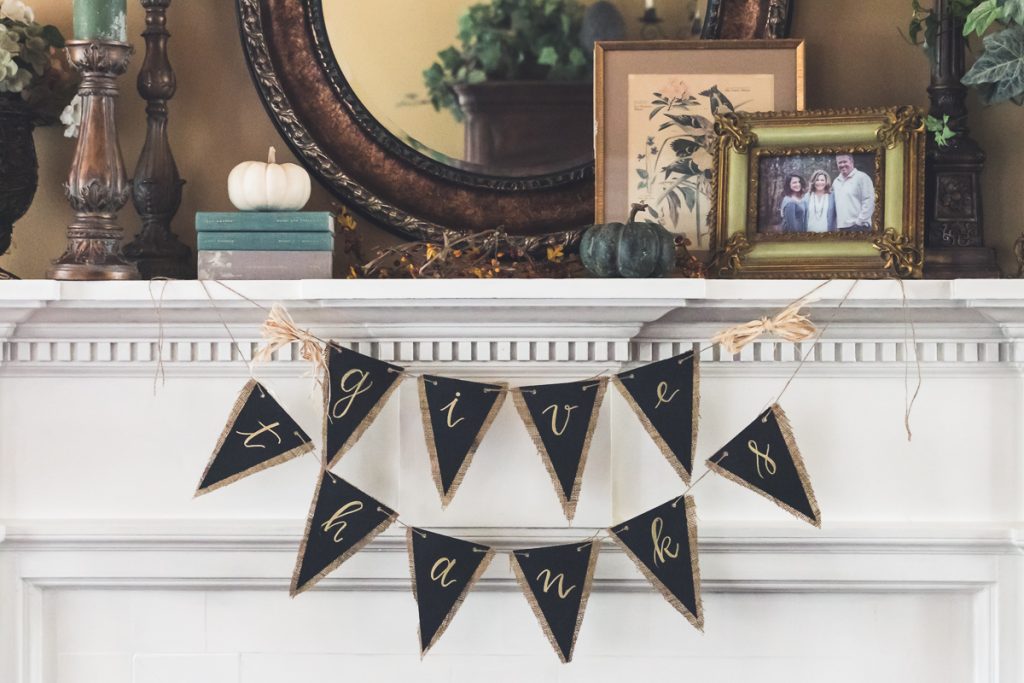
Like I shared in my previous post, over the weekend I got my craft on and made a cute banner for fall. I also became personally acquainted with the crafting magic that is heat-embossing.
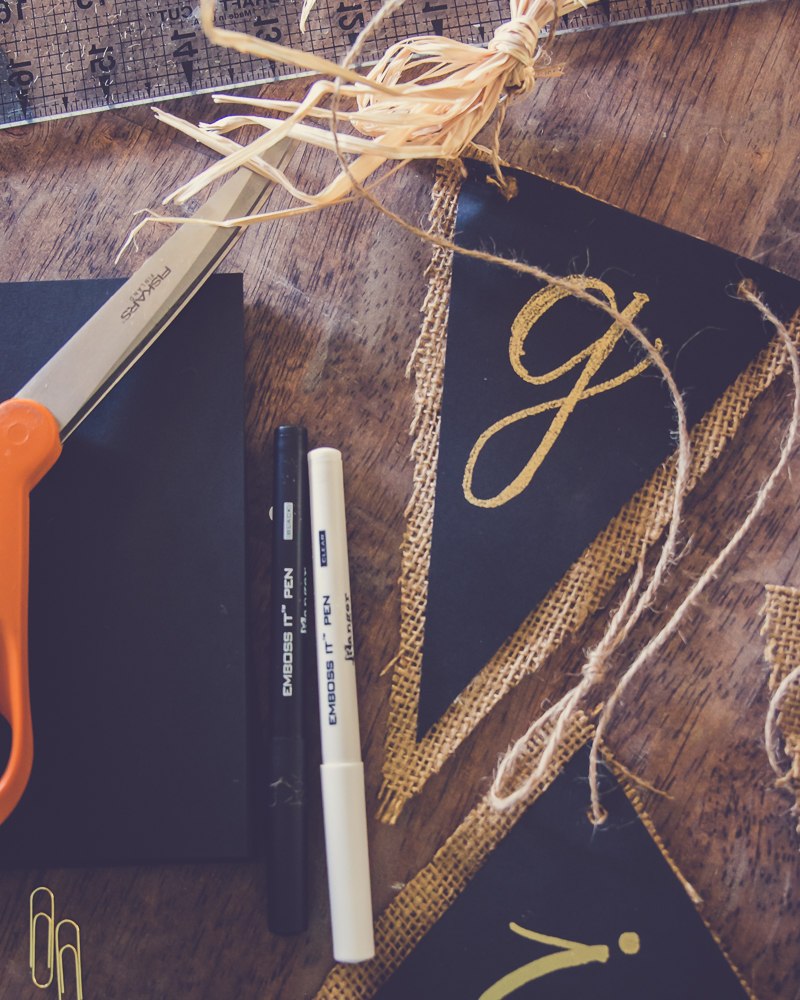
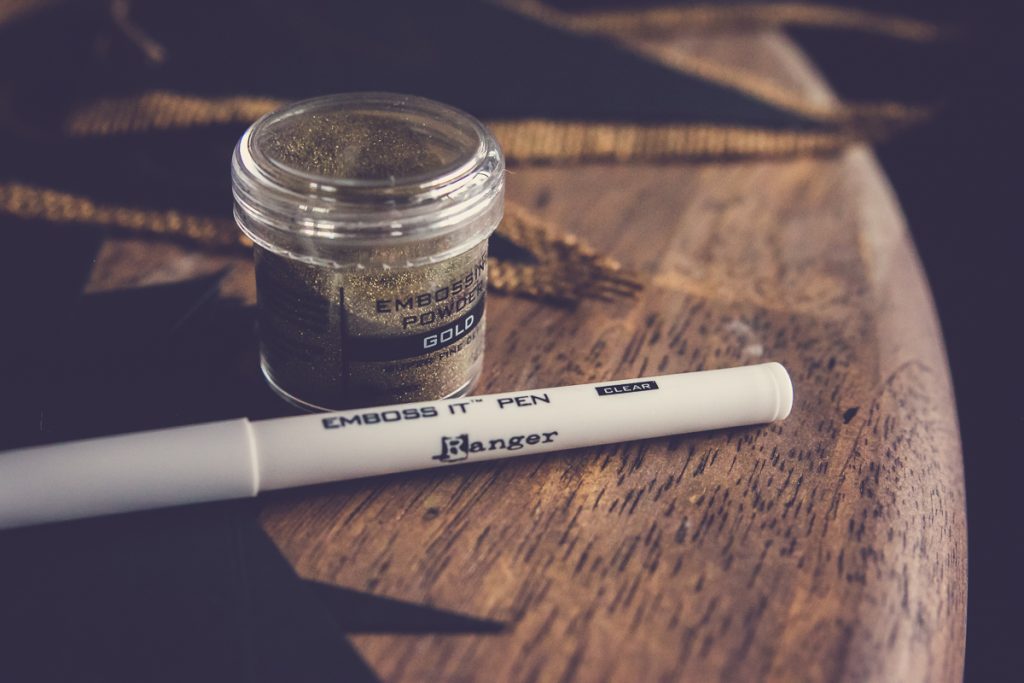
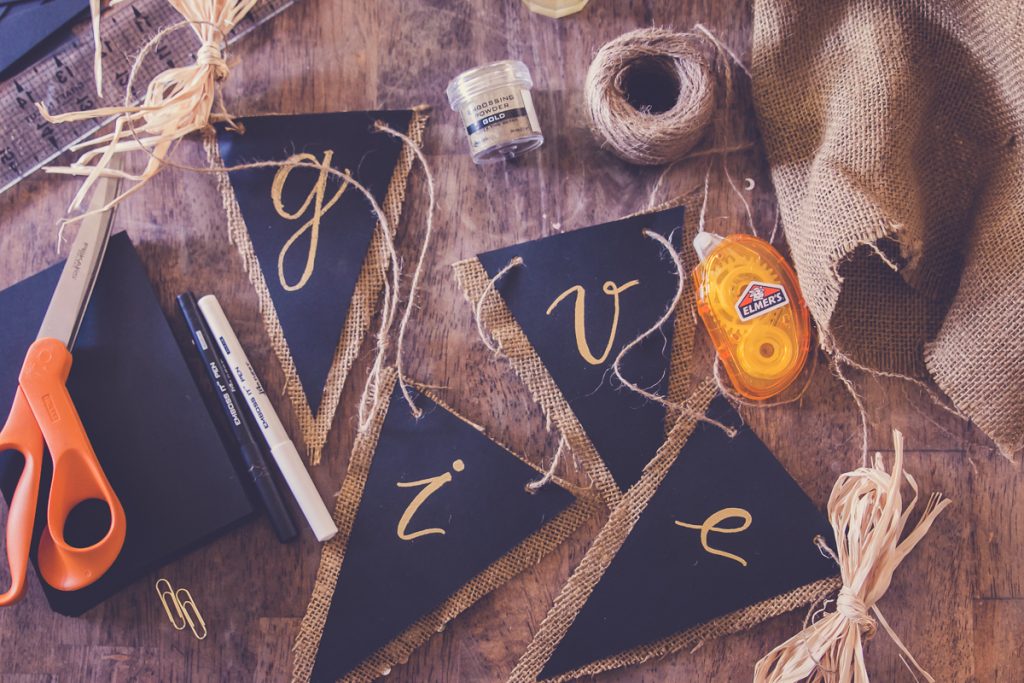
I started my banner with black cardstock triangles that measured 4.5″ wide and 6″ long. Then I lightly penciled the calligraphy letters ‘g i v e t h a n k s’ on the individual triangles. Next, using this awesome new Ranger “EMBOSS IT” pen I bought (!!), I traced over my letters to add some thicker areas (to give it the look of calligraphy).
Basically, heat embossing creates raised designs by the use of a special ink (applied via stamp, pen, etc.) and powder that melts when heat is applied with a heat tool.
Just a fair warning here that you should be prepared to see many more heat-embossed crafts in the future.
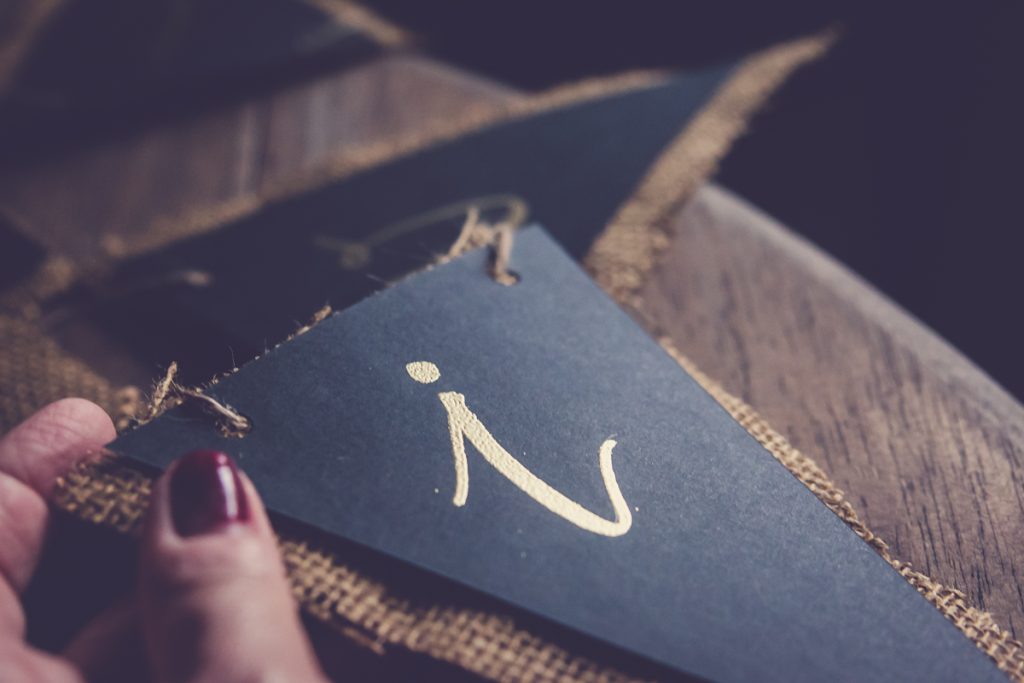
Anyway, once I finished embossing all my letters, I cut out a piece of burlap slightly larger than the cardstock. And no I did not measure it!
Finally I punched holes in the corners and ran a piece of twine through it.
It was seriously so fun and so easy and it made a cute little decoration for my living room fireplace.
If you are thinking of doing something similar but writing out letters and embossing them isn’t your thing, you could totally skip it and use some gold glitter letters or stickers…I found some a while back at the Target dollar spot that would be just as cute.
Clearly, gold/sparkly letters are my jam.
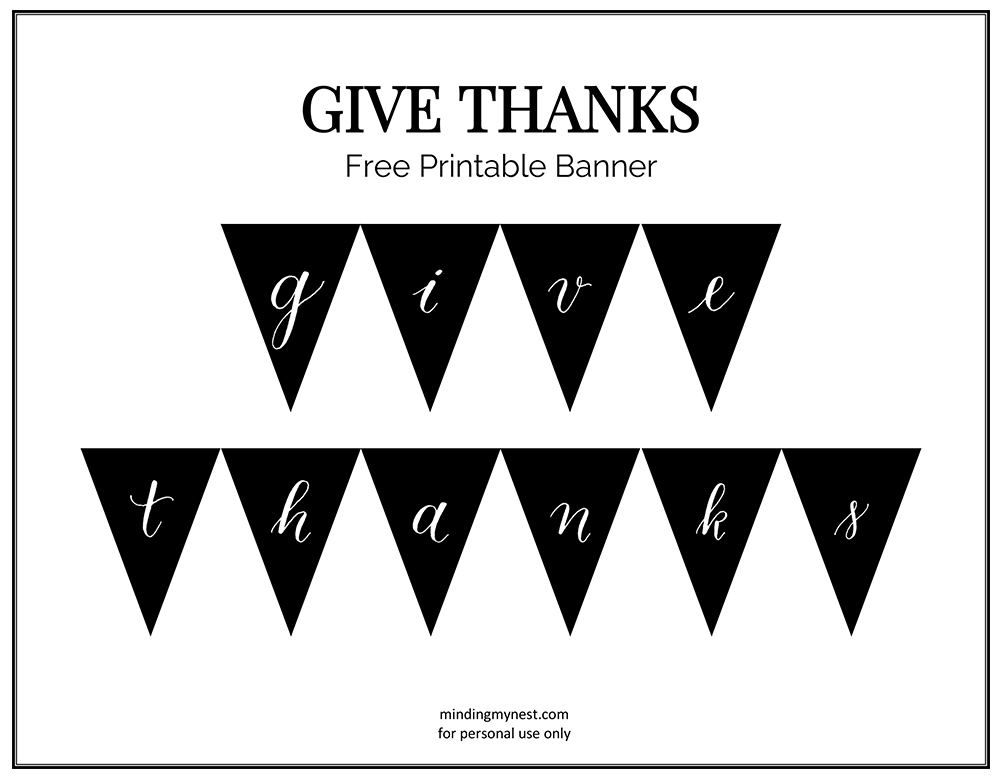
But if you don’t even want to mess with that, you can download my free printable banner design by clicking on the image below. It’s just a very small token of my appreciation for all of your kind words and comments.
Yep…giving thanks….for a fun craft project, for play time, for all things gold and glittery, and for wonderful friends to share it with.
Love, Kelly

I want you to know I got kinda giddy reading this!!!! I want to learn!!!! I LOVE IT!!!! And can I just say how impressed I am that you did not measure the burlap!!!! ???????????????????? so so fun!!!! I can’t wait to try it!