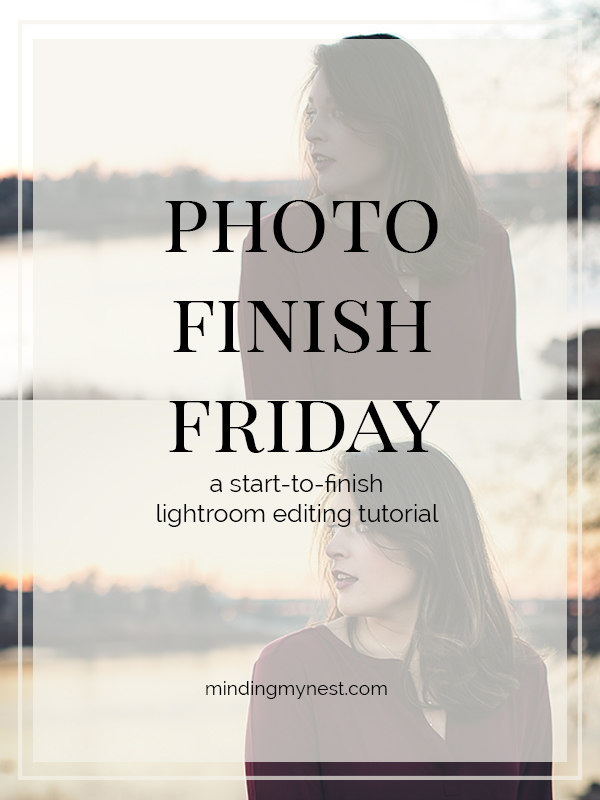
Hi friends! I’m back today with another installment of my photo finish Friday series where I share my start to finish Lightroom editing process. This time I am going to tackle this recent photo that I took of my girl.
 I wanted to capture a few photos to document this month in her life…all the big changes she has experienced recently with moving, getting set up in her new apartment, getting ready to start her new job. So many exciting, scary, wonderful new things happening for her so I was hoping to capture a more a thoughtful expression rather than a big, cheesy smile.
(Although I do so love her big, cheesy smile).
At any rate, we went down to the river right around sunset. The sun had actually dipped down below the horizon, but as you can see from the shot the sky was still fairly bright. Which always poses a bit of a dilemma from a photography stand point…do I expose for the sky or for her face? Either way, I might be losing some detail in one or the other. But the sky was such lovely peachy tone that I decided to underexpose my shot to preserve that detail and see what kind of magic I could work in Lightroom.
As you can see, Lightroom totally came to my rescue and I was able to capture all of the magic of that winter evening.
Reason #4,681 why I love Lightroom.
Basically for this shot I used the brush tools to add some targeted lightening on her face and front of her body. I also played around with the tone curve as well. If you are interested in watching my process, I am sharing the complete, start-to-finish edit in the video below.
Dear Interwebs…I promise I’ll try to stop staying ‘umm’ and ‘so’ and ‘the next thing i’m going to do’ so much. Love, Me.
Anyway, I hope you enjoyed this video…I love playing around in Lightroom and experimenting with different editing styles.
Also, just a quick side note…my girl started her new job this week. And she loves it. And I am so happy and so grateful for an answered prayer.
So with that, I’m going to sign off and get on with my day. I hope you all have a lovely weekend!
Love, Kelly


As always, I learn so much from your LR tutorials! So many times while working in LR, I wish I had you standing next to my chair to tell me what to do and how to do it so your tutorials are the next best thing! I am bookmarking this one because using the adjustment brush is something I have yet to master and I think your tips here will be a big help. Thanks so much for generously sharing your LR knowledge!
Thank you so much Terri. It makes me so happy to know that these tutorials are helpful! xoxoxo
Oh my goodness, Kelly, what an amazing video. I learned so much. A big thank you for taking the time to share your skills with us. I love your blog.
Hi Rob! Thank you so much for stopping by today with such kind words! So glad to know these tutorials are helpful to you!