Welcome to Week 3 of my 52 Weeks of Pinspiration series!
Today I’d like to share with a fun little craft project – Button Bobbie Pins.
http://christinahomemaker.blogspot.com/2010/08/button-bobby-pins.html
This gal (she has the sweetest blog and her little ones soooo cute) does a good explaining how she made hers, but I decided (after following her instructions first) to do mine a bit differently.
Reinventing the wheel…also a specialty of mine. ![]()
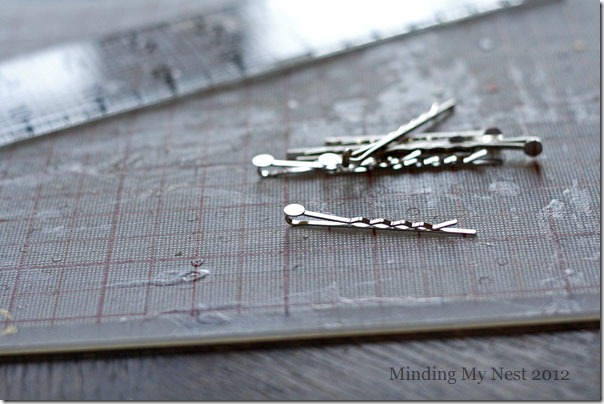
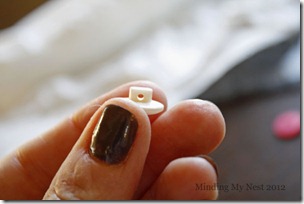
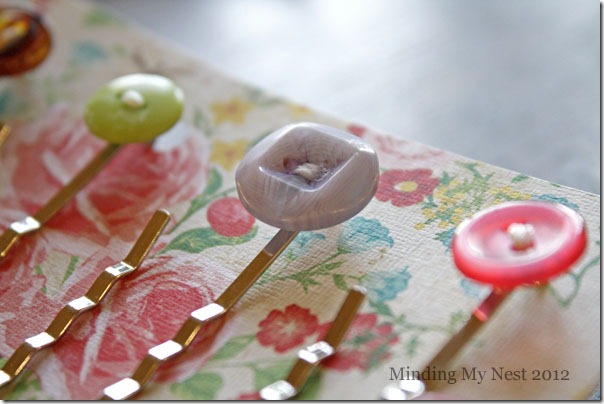
First of all, I started with these cool bobbie pins that I found at Hobby Lobby.
I love that they have a little “base” on which to glue whatever embellishments you want to add.
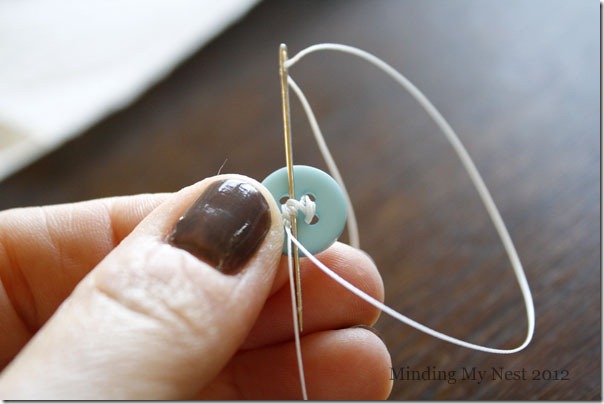
Next, instead of sewing my button directly onto the bobbie pin, I just ran a thread through the holes on the button a few times. And since I plan to glue the button, there’s no need to actually tie a knot on the back, so I just slipped my needle under the threads to secure it.
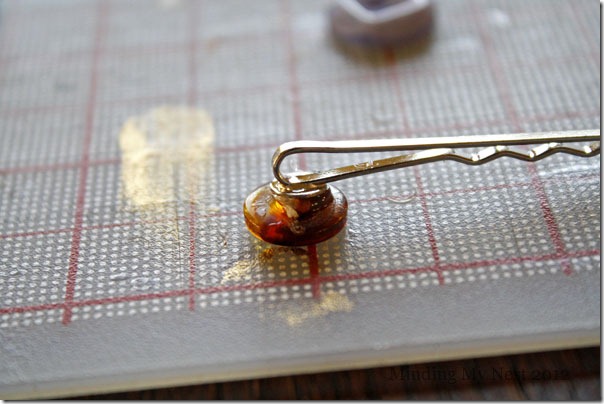
On her blog, Christina explains how she attached her buttons, but I found that hot-glue worked much better for me. But then again, I’m a hot glue kind of girl. ![]()
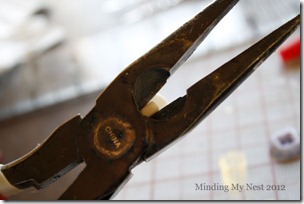
You can use any kind of button you’d like. I had one of these buttons with the loop on the back that I really wanted to use, so I used my handy-dandy, needle-nose pliers to snip the back off.
Please notice that there were no fingers anywhere near the pliers when I snipped!!!!
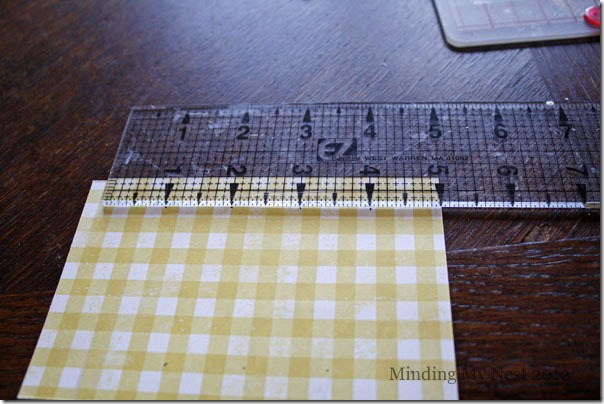
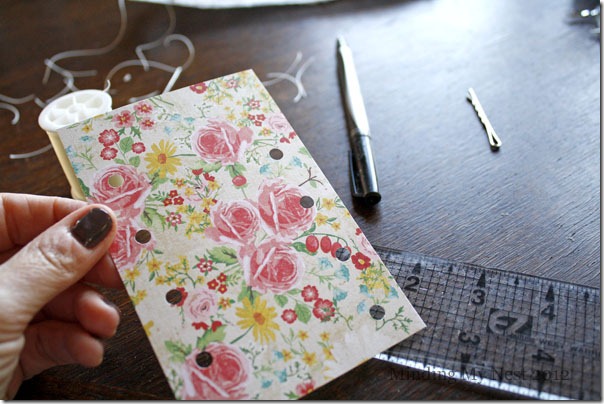
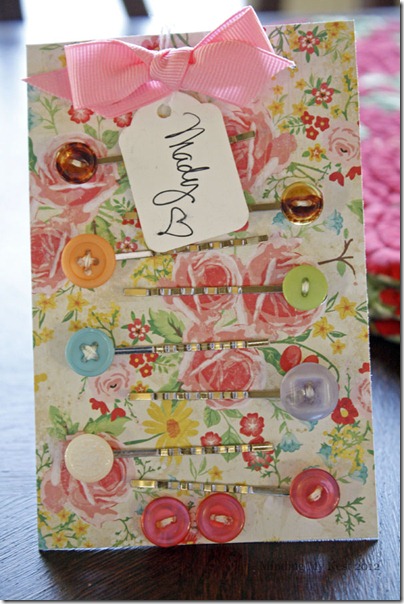
When I saw these on Pinterest I immediately thought of my adorable niece Mady. I made several to give to her for her birthday (OMG will someone please tell our children to stop growing up!!!), so I decided to make a little card to put them on. I went through my stash and found a scrap of cute scrapbook paper that I cut to 4 inches by 6 inches. Then on the back I marked for some holes. You can be as precise about this as you’d like. I think it’s been pretty well established that I’m a freak and like to measure things, so I got out my clear ruler and marked them. ![]()
Next I slipped the the button bobbie pins through the holes.
To dress up the tops a bit, I punched two holes about an inch apart, ran a ribbon through them, and tied a simple bow
Cute huh! As you can see in the photo, I also made a pair of button earrings. These were actually inspired my delightful daughter who made several pairs before she left for college this summer. I guess the apple doesn’t fall far from the tree. ![]()
This was such a fun and easy craft and would be fun to do with bigger kids (especially if you plan to use a hot glue and/or needle-nose pliers).
I’m having so much fun with my Pinspiration series! I hope it’s given you the Pincentive to have fun too. ![]()
Peace, Kelly
P.S. As always, I’d love to know what you’ve been making! Feel free to leave a link in my comments to either your blog or Flickr account.

So very cute Kelly! I think I might let the girls do these on their own tomorrow during the football game and see how they come out! I am in love with how you packaged them!
thank you so much! they were so easy and so fun to make. i’d love to see how yours turn out! 🙂
These turned out super-cute! And I totally have bobby-pins-with-handy-little-platforms-for-attaching-stuff envy. ; ) I’m honored that you used my idea!
thanks for stopping by christina! 🙂
These are adorable!!! How much do you sell them for?
hi regina! thanks for the compliment! 🙂 i actually don’t sell them, but they are so simple and easy to make. give them a try! 🙂
Oh, I am SO making some of these. And the packaging is aDORable! GREAT job!